How to Clean Your Shark Robot Vacuum Brushroll
When your Shark robot vacuum’s brushroll gets tangled with hair or debris, When your Shark robot vacuum’s brushroll gets tangled with hair or debris, our guide on how to clean your Shark robot vacuum brushroll can help.removing it is usually straightforward. You’ll typically need to flip the robot over and access the brushroll compartment. Most models have a simple release mechanism.
Keeping your Shark robot vacuum’s brushroll clean is key to its performance. A clogged brushroll can reduce suction power and lead to poor cleaning results. Regular maintenance ensures your robot can effectively tackle dust and pet hair.
- Flip the robot over.
- Locate the brushroll release.
- Gently lift out the brushroll.
- Remove tangled debris.
- Reinsert the brushroll.
Let’s walk through exactly how to get that brushroll free, step by step.
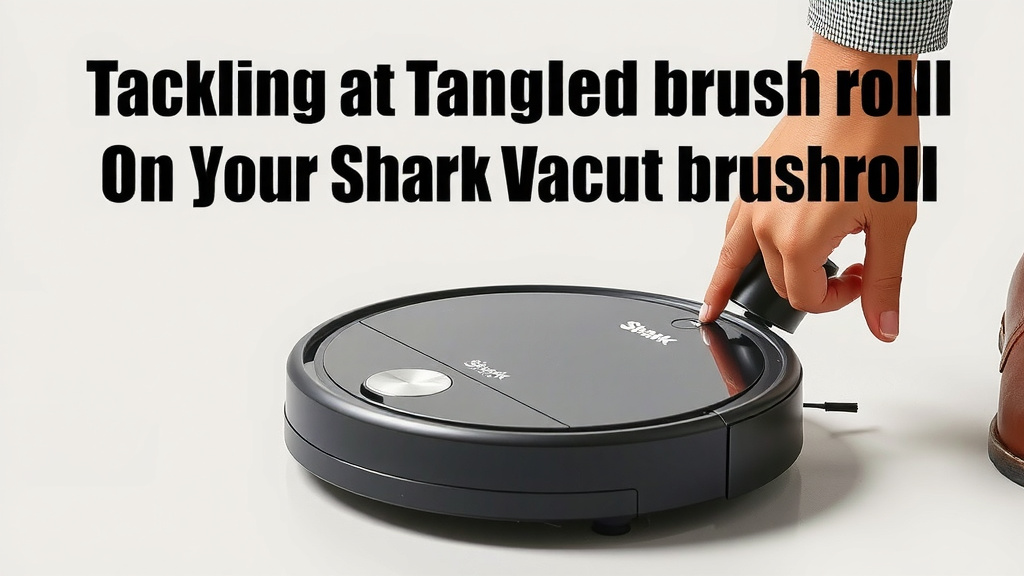
“`htmlTackling a Tangled Brushroll on Your Shark Robot Vacuum
Your Shark robot vacuum is designed to be a hands-off cleaning machine. But sometimes, especially with long hair or stubborn debris, the brushroll can get a bit clogged. Don’t worry, this is a common issue! Removing a tangled brushroll is a **manageable maintenance task** that most owners can handle with ease. It just takes a few simple steps to get your little cleaning buddy back in top shape.
The main culprit behind a struggling brushroll is usually accumulation. Think of it like a drain in your sink – if hair and gunk build up, water doesn’t flow well. Similarly, when your robot’s brushroll gets packed with debris, its ability to sweep up dirt and dust is severely **hindered**. This guide will walk you through how to **safely and effectively** clear that brushroll.
Preparing for Brushroll Removal
Before you start, it’s wise to do a little prep work. Gather what you’ll need so you’re not scrambling mid-task. This makes the whole process **smoother and faster**. Think of it like getting your ingredients ready before you start cooking.
What You’ll Need
Most of the time, you won’t need any special tools. Shark designs these robots with owner maintenance in mind. Here’s what we suggest having on hand:
- A flat, clear workspace.
- A soft cloth or paper towels.
- Scissors or a seam ripper (use with caution!).
- Your Shark robot vacuum, of course!
Powering Down Safely
Safety first, always! Before you attempt to touch any internal parts, including the brushroll, you **must ensure the robot is powered off**. This prevents any accidental activation. Many Shark robot vacuums have a power button you can press and hold. For added safety, you can also remove it from its charging dock. This is a **critical step** to avoid any unexpected movements or injuries.
Accessing the Brushroll Compartment
Once your robot is safely powered down, it’s time to get to the brushroll itself. This typically involves flipping the robot over. It’s like getting under the hood of a car to see the engine!
Flipping Your Shark Robot
Gently turn your Shark robot vacuum upside down. You should now be looking at the underside of the robot. You’ll see the brushroll housing, often with a **protective cover** or grid. Be sure to place it on a surface that won’t scratch its sensors or casing. A carpeted floor or a soft towel works wonders.
Locating the Brushroll Release Mechanism
Most Shark robot vacuums have a fairly obvious way to release the brushroll. Look for latches or tabs around the brushroll housing. Often, there are **two tabs**, one on each side. These are usually designed to be pushed or squeezed. Some models might have a single release button.
You might see small arrows indicating which way to push. Refer to your Shark robot’s manual if you’re unsure. The manual will have **specific diagrams** for your model, making this step crystal clear. You can usually find a digital version on the Shark website if you don’t have the physical copy handy.
Understanding Different Release Types
While the general principle is the same, the exact release mechanism can vary slightly between Shark models. Some might use a simple push-and-lift system, while others have clip-on covers that snap into place. The key is to **look for points of articulation** or areas that look like they can be opened. Don’t force anything; if it feels stuck, double-check that you’re engaging the correct release points.
Removing and Cleaning the Brushroll
With the release mechanism engaged, you should be able to lift the brushroll out. This is where you’ll see the full extent of what’s been wrapped around it!
Gently Lift Out the Brushroll
Once you’ve released the latches, the brushroll should come **loose from its mountings**. You might need to lift one end first. It should slide or lift out relatively easily. If it feels stuck, check again for any missed latches or obstructions. Avoid pulling too hard, as you don’t want to damage the housing or the brushroll itself.
Untangling Hair and Debris
This is the part where you play detective. You’ll likely find hair, threads, carpet fibers, and maybe even some small bits of paper wrapped tightly around the brushroll. This is where those scissors or a seam ripper come in handy.
Carefully cut through the tangled material. **Be mindful of the brushroll bristles** themselves. You want to cut the debris, not the brushroll! Work slowly and methodically. Many experts suggest making small cuts to avoid accidentally nicking the brushroll. For extremely stubborn tangles, you might need to use your fingers to carefully pull away loosened debris.
We found that using a seam ripper allows for precise cutting without damaging the bristles. It’s like a tiny, controlled saw for your robot’s brushroll. If you don’t have one, sharp scissors can work, but you’ll need a bit more dexterity.
Cleaning the Brushroll Housing
While the brushroll is out, take a moment to clean the housing where it sits. Use your soft cloth or paper towels to wipe away any dust or debris that may have accumulated in the compartment. You might find some stubborn fluff stuck in corners. Getting this area clean ensures the brushroll sits properly when you reinsert it. This is a good time to **check for any damage** to the housing or the spinning mechanism.
Reinserting the Brushroll
Putting the brushroll back in is the reverse of taking it out. It’s usually a simple process.
Aligning and Securing the Brushroll
Carefully place the cleaned brushroll back into its housing. You’ll need to align it with the drive mechanism and the support at the other end. Most brushrolls have specific notches or shapes that only allow them to be inserted correctly. Once it’s seated properly, **re-engage the release latches** or covers you opened earlier. You should hear or feel a click when they are secured.
A quick checklist before you flip it back over:
- Brushroll is clean and free of debris.
- Housing is free of dust and gunk.
- Brushroll is properly seated in its mountings.
- All release latches or covers are securely fastened.
- No tools or debris are left inside the compartment.
Final Check and Test Run
Flip your Shark robot vacuum right-side up. Turn it back on and place it on its dock if it’s designed to return there. If possible, initiate a short cleaning cycle. Listen for any unusual noises. If the brushroll spins freely and smoothly, you’ve **successfully completed the task**!
“`Conclusion
You’ve successfully learned how to tackle a tangled brushroll on your Shark robot vacuum. This routine maintenance is essential for keeping your robot running efficiently and ensuring your floors get the clean they deserve. By following these steps, you’ve improved your robot’s suction power and cleaning performance. Remember, a little regular care goes a long way. Now, go ahead and schedule this simple task into your cleaning routine – your Shark will thank you for it!
Frequently Asked Questions
How often should I clean my Shark robot vacuum’s brushroll?
We recommend checking and cleaning your Shark robot’s brushroll at least once a week, especially if you have pets or long hair in your home. More frequent checks might be needed if you notice a decrease in cleaning performance or hear unusual noises.
Can I use a vacuum cleaner to clean the brushroll?
While you can use a vacuum to suck up loose debris, it’s often more effective to manually remove tangled hair and fibers. A small brush or your fingers can help dislodge stubborn material, and scissors are best for cutting away long strands. A vacuum might just push the debris further into the bristles.
My Shark robot brushroll is stuck. What should I do?
If your brushroll feels stuck, first ensure the robot is powered off. Double-check that all release latches are fully disengaged. Sometimes, debris can get wedged in a way that requires gentle wiggling or careful cutting of the tangled material with scissors or a seam ripper.
What if I lose or break a brushroll release tab?
If a release tab breaks, you might still be able to remove the brushroll using the remaining tab or by carefully prying the cover open with a flat tool like a butter knife. It’s best to contact Shark customer support for a replacement part or further assistance.
Can I wash the brushroll with water?
Most Shark robot vacuum brushrolls are designed to be wiped clean with a dry or slightly damp cloth. Avoid submerging the brushroll in water, as this could damage the internal components or bearings. Always ensure it’s completely dry before reinserting it into the robot.