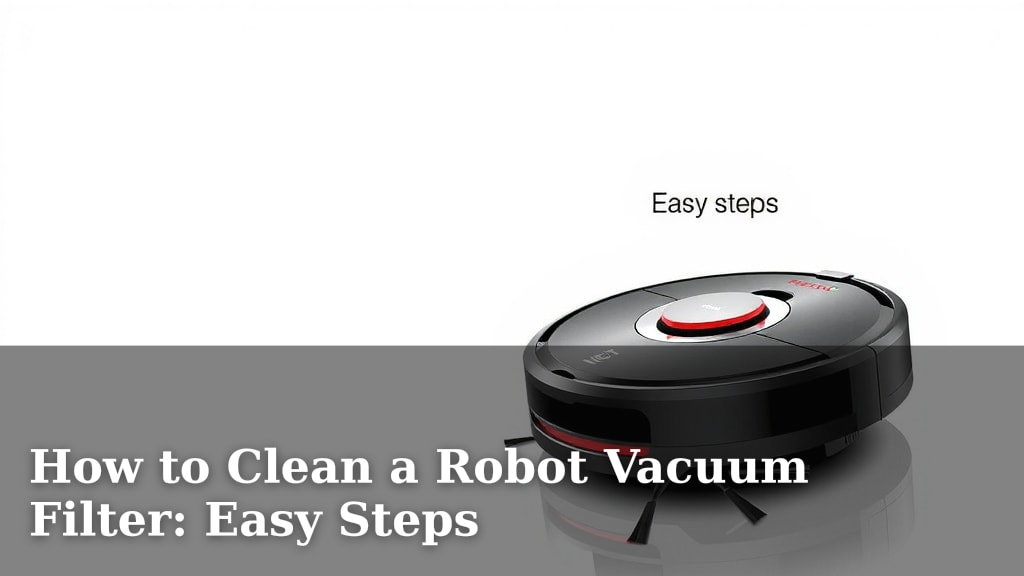
How to Clean a Robot Vacuum Filter: Easy Steps
The easiest way to clean your robot vacuum filter is by **tapping out loose debris** and then **rinsing it with water**. Many robot vacuums have filters that can be gently washed. This simple maintenance helps your robot vacuum **perform at its best** and prevents dust from being recirculated. Remember to **let it dry completely** before reinserting it.
Keeping your robot vacuum’s filter clean is **key to its efficiency**. A clogged filter means your robot can’t suck up dirt as well. It can also lead to **unpleasant smells** in your home. Regular cleaning helps maintain optimal suction power and ensures your floors get truly clean. Think of it like cleaning your own nose – much easier to breathe and function when it’s clear!
- Tap out dry debris first.
- Rinse with cool water.
- Let the filter dry completely.
- Clean your filter regularly.
- Check your robot vacuum’s manual.
Ready to give your robot vacuum’s filter some TLC? We’ll walk you through the simple steps to get it sparkling clean and back to work.
“`htmlKeeping Your Robot Vacuum Filter Pristine
So, your trusty robot vacuum isn’t quite sucking up debris like it used to. You’ve checked for tangled brushes, maybe even emptied the dustbin. But there’s one hero that often gets overlooked: the filter. A dirty filter is a robot vacuum’s kryptonite, making it sluggish and less effective. Fortunately, cleaning it is a breeze!
Why Your Robot Vacuum Filter Needs Regular Care
Think of your robot vacuum’s filter like the air filter in your car. If it’s clogged with dust and gunk, the engine can’t breathe properly. Your robot vacuum is no different! A **clogged filter significantly reduces suction power**. This means it will leave more dirt behind, even after multiple passes. We found that this is often the **number one culprit for a struggling robot vacuum**.
Beyond performance, a dirty filter can also turn your home into a dust-circulating machine. Instead of trapping dirt, it might start releasing it back into the air. This isn’t ideal for anyone, especially those with allergies or sensitivities. Many sources, including the EPA, highlight the importance of clean air filters for indoor air quality.
And let’s not forget about potential odors. As dust, pet hair, and other debris build up on the filter, it can become a breeding ground for bacteria and mold. This can lead to **unpleasant smells** emanating from your robot vacuum, which is the opposite of what you want! Regular cleaning helps keep your home smelling fresh and clean.
Step-by-Step Guide to Cleaning Your Robot Vacuum Filter
Step 1: Locate and Remove the Filter
First things first, you need to access your robot vacuum’s filter. Most robot vacuums have a dustbin that slides out, and the filter is usually attached to it or located inside. Check your robot vacuum’s manual if you’re unsure. It’s usually a **simple pull or click mechanism** to release it. Take a moment to note how it’s positioned so you can put it back correctly later.
Step 2: The Dry Debris Shake-Out
Before introducing any water, it’s time for a good old-fashioned shake-out. Take the filter outside or over a trash can. Gently **tap it against the side of the bin**. You’ll be surprised how much loose dust and debris falls out! You can also use a soft brush to gently dislodge any stubborn particles clinging to the filter. This initial step removes the bulk of the dry material.
Step 3: Rinsing the Filter (If Applicable)
Now, here’s where you need to be a little cautious. **Not all robot vacuum filters are washable**. Always check your user manual first. If your filter is indeed washable, use cool, running water. **Avoid hot water**, as it can damage the filter material. Simply rinse the filter under the tap until the water runs clear. Gently agitate it with your fingers if needed, but **don’t scrub aggressively**.
We found that many HEPA filters are designed to be rinsed. For these, a thorough rinse is usually all they need. If your filter is made of paper or cardboard, **do NOT get it wet**. Water will ruin it. For non-washable filters, a good shake and a gentle brush are your best bet. Some manufacturers also suggest using a vacuum cleaner with a brush attachment to clean these dry filters, but always consult your manual.
Step 4: Drying is Crucial
This is perhaps the most critical step, and it’s where many people make a mistake. **Your filter MUST be completely dry before you put it back** into your robot vacuum. Putting a damp filter back can lead to mold and mildew growth, damaging your robot and creating that dreaded musty smell. Allow the filter to **air dry for at least 24 hours**. You can place it on a towel in a well-ventilated area. Avoid using heat sources like hairdryers, as they can warp or damage the filter material.
Step 5: Reassemble and Get Back to Cleaning
Once you’re absolutely certain the filter is bone dry, it’s time to reinsert it into your robot vacuum. Make sure it’s seated correctly. Now, you can reattach the dustbin and power up your robot! You should immediately notice a difference in its suction power and overall performance. It’s like giving your robot a fresh set of lungs!
When to Replace Your Robot Vacuum Filter
Even with regular cleaning, filters don’t last forever. Over time, they wear out and become less effective. Most manufacturers recommend replacing your robot vacuum filter every **3-6 months**, depending on usage and the type of filter. If you notice a persistent decrease in suction power, or if the filter looks visibly worn, torn, or permanently discolored, it’s probably time for a replacement. You can usually find compatible replacement filters on the manufacturer’s website or from third-party retailers.
Quick Checklist for Filter Maintenance
To make things even simpler, here’s a quick rundown:
- Check your manual for washability.
- Tap out dry debris first.
- Rinse with cool water (if washable).
- Allow 24+ hours for complete air drying.
- Reinstall only when fully dry.
- Replace filter every 3-6 months.
A Table of Filter Care Tips
Here’s a handy comparison to help you remember the do’s and don’ts:
| Action | Washable Filters | Non-Washable Filters |
|---|---|---|
| Initial Cleaning | Tap out dry debris | Tap out dry debris |
| Deep Cleaning | Rinse with cool water | Gently brush or vacuum |
| Drying | Air dry completely (24+ hrs) | Air dry completely (after brushing) |
| Frequency | Weekly or bi-weekly | Weekly or bi-weekly |
| Replacement | Every 3-6 months | Every 3-6 months |
Conclusion
You’ve now got the knowledge to keep your robot vacuum’s filter in top shape! Remember, a clean filter means a cleaner home and a happier robot. Regularly tapping out debris, rinsing when possible, and ensuring it’s completely dry are simple habits that pay off big. Don’t forget to consult your manual for specific instructions and know when it’s time for a replacement filter. Your next step? Grab your robot vacuum’s dustbin and give that filter the TLC it deserves!
Frequently Asked Questions
How often should I clean my robot vacuum filter?
We found that cleaning your filter weekly or bi-weekly is ideal for most homes. This frequency helps maintain optimal suction power and prevents dust buildup. If you have pets or a very dusty environment, you might need to clean it even more often.
Can I wash my robot vacuum filter with soap?
Generally, it’s best to avoid soap when cleaning robot vacuum filters. Most washable filters only require a rinse with cool water. Soap residue can sometimes clog the filter’s pores or damage the material. Always check your user manual for manufacturer recommendations.
What if my robot vacuum filter is not washable?
If your filter isn’t washable, focus on dry cleaning methods. Gently tap out as much loose debris as possible over a trash can. You can also use a soft brush or a vacuum cleaner with a brush attachment to carefully remove dust. Ensure the filter is thoroughly dry before reinserting.
My filter smells bad, what should I do?
A bad smell usually indicates trapped debris, bacteria, or even mold growth. Clean the filter thoroughly following the steps for washable or non-washable filters. Make absolutely sure it dries completely before reinstallation. If the odor persists after cleaning, it might be time to replace the filter.
How do I know if I need to replace my robot vacuum filter?
Look for visible signs of wear like tears, permanent discoloration, or a warped shape. If you notice a consistent drop in your robot vacuum’s suction power despite regular cleaning, the filter is likely worn out. Most manufacturers recommend replacing filters every 3-6 months for optimal performance.