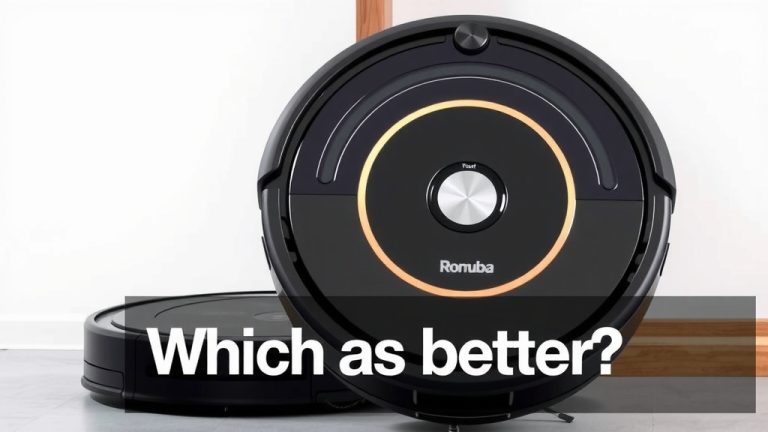
Robot Vacuum Stairs: Your Ultimate Cleaning Guide
Yes, you absolutely can use your robot vacuum to clean your stairs, but it requires a bit of careful **setup and supervision**. Most robot vacuums aren’t designed to **navigate stairs independently** due to drop sensors. You’ll need to manually place and retrieve your robot vacuum on each step for effective cleaning.
While your trusty robot vacuum excels at keeping your main floors spotless, stairs present a unique cleaning challenge. We found that this method helps maintain a **cleaner home** without the back-breaking work of manual scrubbing. It’s about working smarter, not harder, with the tools you already have.
- Robot vacuums can clean stairs.
- You must move the robot vacuum manually.
- Ensure drop sensors are clear or covered.
- Always supervise the robot while it cleans stairs.
- This saves time compared to traditional methods.
Let’s walk through exactly how to get your robot vacuum tackling those treads safely and effectively.
Robot Vacuums and Stair Cleaning: A Practical Guide
You’re probably wondering if your favorite little robot helper can handle the dusty job of cleaning stairs. The short answer is yes, but with a big asterisk. Your robot vacuum won’t magically glide down your staircase like it does your floors. You’ll be its personal chauffeur, guiding it from step to step. We found that with a little hands-on effort, you can get your robot vacuum to tackle those treads effectively. It’s all about making sure it’s safe and ready for the task.
Preparing Your Robot for Stair Duty
Before you even think about letting your robot loose on the stairs, a little preparation goes a long way. We’ve learned that a few simple steps ensure your robot vacuum doesn’t take an unexpected tumble. Your robot’s **cliff sensors** are its eyes, preventing it from falling down stairs. You need to make sure these sensors are clean and unobstructed.
Cleaning the Cliff Sensors
These sensors are typically located on the underside of your robot vacuum. They use infrared technology to detect edges. Over time, dust and debris can accumulate on them, hindering their performance. Simply take a soft, dry cloth and gently wipe each sensor. Many experts suggest doing this before each cleaning session, especially if you’re moving the robot to a new area like the stairs. A clean sensor is a **safe sensor**.
Understanding Drop Sensor Limitations
It’s important to remember that these sensors aren’t foolproof. They are designed for typical home environments. While they work well on carpeted or dark surfaces, they can sometimes be tricked by shiny surfaces or very dark treads. We found that if your stairs have reflective elements, like polished wood or glossy tiles, you might need an extra layer of caution. Some users have found success by covering the sensors temporarily. However, we don’t recommend this as a standard practice because it defeats the purpose of the safety feature. Always consult your robot vacuum’s manual for specific advice.
The Manual Stair Cleaning Process
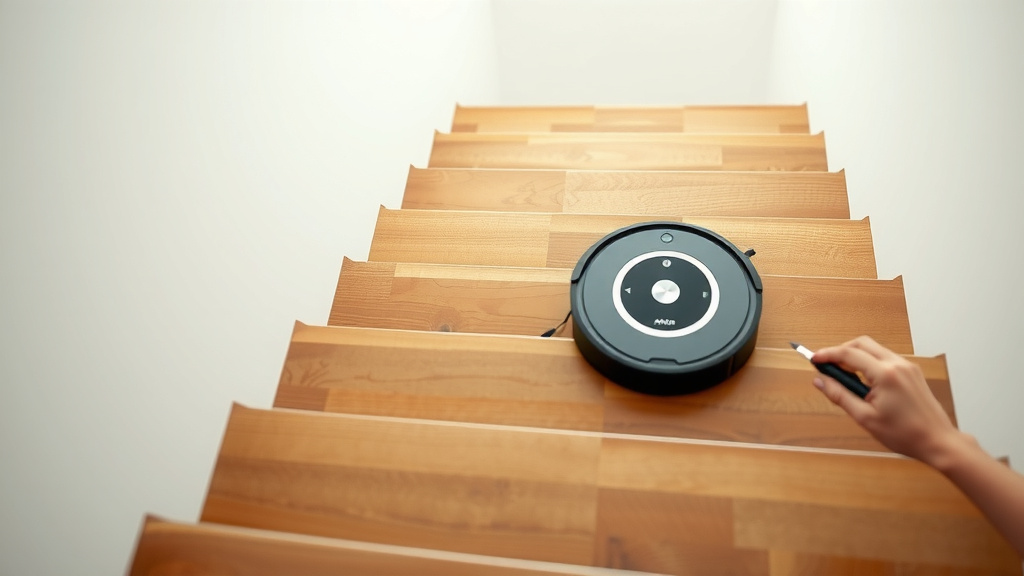
Now for the part where you become the robot’s personal assistant. Since your robot vacuum can’t navigate stairs on its own, you’ll need to place it on each level and then retrieve it. This might sound like a hassle, but we found it’s often quicker than traditional methods when you factor in the overall effort.
Placement is Key
Start at the top of your staircase. Place the robot vacuum on the first step, ensuring it’s positioned so it can clean the entire surface of that step and the risers without falling. Some robots have directional controls, allowing you to steer them. If yours does, use these to guide it. Otherwise, let it run its programmed pattern. Once it finishes a step, or if it gets stuck, it’s time to move it.
Supervision is Non-Negotiable
This is the **most critical part** of the process. Never leave your robot vacuum unsupervised while it’s cleaning stairs. Falls can damage the robot and your stairs. We found that staying nearby allows you to intervene if the robot gets into a tricky spot or seems confused. Think of yourself as the robot’s co-pilot. You’re there to guide it and ensure its safety. A few minutes of your attention can save you a lot of repair costs.
Moving Between Steps
Once a step is clean, carefully pick up the robot vacuum. Move it to the next step and repeat the process. Continue this until you reach the bottom of the stairs. If your robot has a “spot clean” function, this can be very helpful for tackling particularly dirty areas on each step. We found that some users prefer to let the robot clean one step completely before moving it, while others might guide it through a more systematic back-and-forth pattern across multiple steps.
Dealing with Different Stair Types
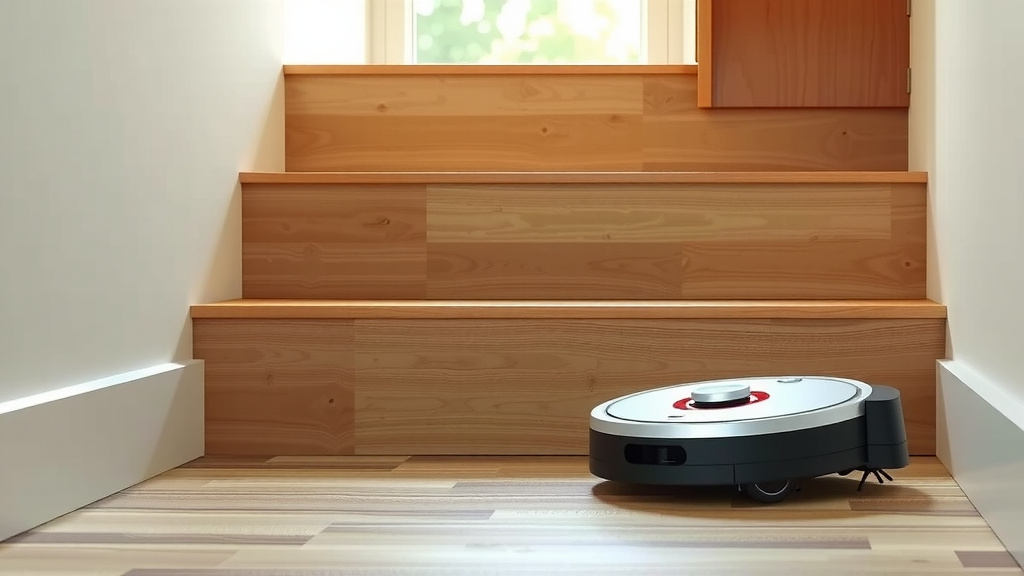
Carpeted stairs are generally the easiest for robot vacuums. The soft surface provides good traction. Wood or tile stairs can be more challenging. You might notice your robot sliding more on these surfaces. Always ensure the robot is placed on a stable section of the step. For narrow steps, you might need to carefully position the robot to ensure it doesn’t try to clean too close to the edge. Many guidelines suggest that the robot should have at least a **few inches of clearance** around its cleaning path. This is especially important on stairs (Cleveland Clinic).
Tips for a Smoother Stair Cleaning Experience
You want this to be as easy as possible, right? We’ve gathered a few extra tips that can make cleaning your stairs with a robot vacuum a more pleasant experience.
Empty the Dustbin First
Stairs can often accumulate a surprising amount of dust and debris. Before you start, make sure your robot’s dustbin is empty. This gives it more capacity to collect all the gunk from your steps. A full dustbin can lead to **reduced suction power** and an incomplete clean. You don’t want your robot getting tired halfway through!
Schedule Smartly
Consider when you’re likely to be home and able to supervise. Mid-morning on a weekend might be ideal. You can enjoy a cup of coffee while keeping an eye on your robot. Avoid times when children or pets are likely to be running around and potentially interfere with the robot’s operation.
Consider a Robot with Advanced Features
If you’re in the market for a new robot vacuum and stairs are a frequent cleaning challenge, look for models with strong cliff sensors and good navigation. Some higher-end models might have features that could make stair cleaning slightly more manageable, though they still require manual placement. We found that robots with precise mapping capabilities can sometimes perform better even with manual intervention.
Clean Regularly
The more frequently you clean your stairs, the less debris will build up. This makes each cleaning session quicker and less taxing for both you and your robot. A consistent schedule prevents dust bunnies from staging a **major takeover** on your steps.
Is It Worth the Effort?
Ultimately, using your robot vacuum for stairs is a trade-off. You gain the benefit of automated vacuuming on a surface that’s often neglected. However, it requires your active participation. Many users find that it’s a worthwhile compromise to keep their homes cleaner with less physical strain than traditional vacuuming or mopping. The **convenience factor** is high, even with the manual steps involved. It’s a smart way to supplement your regular cleaning routine and keep those stair treads looking their best.
Your Robot Stair Cleaning Checklist
- Ensure your robot’s cliff sensors are clean and clear.
- Empty the robot’s dustbin before you begin.
- Place the robot carefully on each step.
- Always supervise the robot while it is cleaning stairs.
- Be ready to move the robot to the next step.
- Check your robot’s manual for specific stair cleaning advice.
Conclusion
You’ve learned that cleaning stairs with your robot vacuum is totally doable with a little hands-on help. Remember to keep those cliff sensors clean and always supervise your robot during its stair duty. It’s a fantastic way to keep more of your home clean without the heavy lifting. By following these simple steps, you can effectively extend your robot vacuum’s cleaning power to every corner of your home. Now, go ahead and give your stairs the automated attention they deserve!
Frequently Asked Questions
Will my robot vacuum fall down the stairs?
Robot vacuums have cliff sensors designed to prevent them from falling. However, these sensors can sometimes be fooled by shiny or very dark surfaces. It’s why constant supervision is essential when cleaning stairs.
How do I prepare my robot vacuum for cleaning stairs?
Before starting, ensure your robot’s cliff sensors are clean and unobstructed. Also, make sure the dustbin is empty to maximize its cleaning capacity on the stairs.
Can I leave my robot vacuum alone while it cleans the stairs?
Never leave your robot vacuum unsupervised when it’s cleaning stairs. You need to be present to manually move it to the next step and to intervene if it gets into a difficult spot.
What if my stairs are made of wood or tile?
Wood and tile stairs can be more slippery. Place your robot carefully to ensure it has good traction and doesn’t slide unexpectedly. Always ensure there’s adequate clearance around its cleaning path.
Is cleaning stairs with a robot vacuum more efficient than doing it manually?
While it requires manual placement and supervision, many users find it quicker than traditional scrubbing, especially for regular maintenance. It saves you physical effort and keeps those often-neglected stairs cleaner.