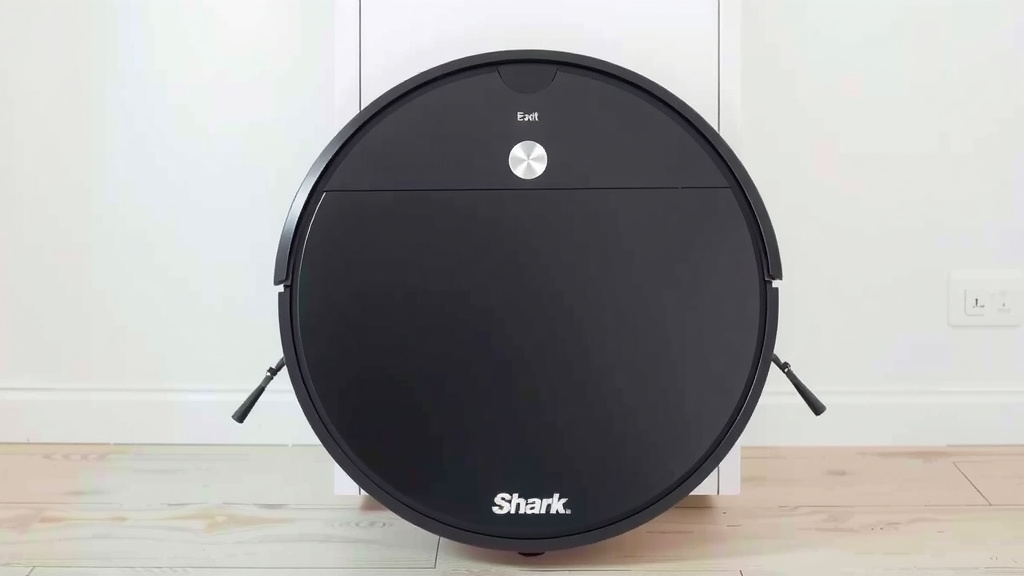
Easy Guide to Removing Your Shark Robot Vacuum Front Wheel
Removing your Shark robot vacuum’s front wheel is simpler than you might think. You typically just need to gently pull it out after releasing a small tab or clip. This common maintenance task helps keep your robot cleaning efficiently.
This front wheel, often called the caster wheel, is vital for your vacuum’s navigation. When it gets clogged with hair or debris, your robot can start to move erratically. We found that regular cleaning or replacement can prevent many common cleaning errors.
- Gently pull the front wheel out.
- Look for a small tab or clip to release.
- Clear away any tangled hair or debris.
- Reinsert the wheel until it clicks.
Ready to get that wheel out and your Shark robot back on track? Let’s walk through exactly how to do it, step by step.
“`htmlTaking Out Your Shark Robot’s Front Wheel for Maintenance
Removing the front wheel, or caster wheel, on your Shark robot vacuum is a straightforward process. You’ll usually just need to gently pull it free after releasing a small clip. This task is essential for keeping your robot running smoothly. We found that a clogged front wheel can seriously impact your robot’s ability to navigate and clean effectively.
Why You Might Need to Remove the Front Wheel
Your Shark robot vacuum’s front wheel is a key player in its movement. It allows the robot to turn and pivot. If this wheel gets tangled with hair, string, or other debris, it can cause the robot to drag or spin erratically. This often leads to cleaning errors or the robot getting stuck. Regular checks and cleaning can prevent these common annoyances. Many owners report better performance after simply cleaning this part.
Common Issues That Require Front Wheel Removal
You’ll likely notice a problem if your robot starts making strange noises. It might also begin to clean in circles or leave missed spots. Sometimes, the robot will just stop altogether and display an error code. These are all strong indicators that the front wheel needs attention. We found that hair is the most frequent culprit.
What You’ll Need
Gathering a few simple items can make the process even easier. You’ll typically need:
- A clean, dry cloth.
- A pair of tweezers or small pliers (optional, for stubborn debris).
- Your Shark robot vacuum.
Step-by-Step Guide to Removing the Front Wheel
Let’s get that wheel out! It’s usually a quick job. Follow these steps carefully.
Locate the Front Wheel
First, flip your Shark robot over so the brushes are facing up. The front wheel is located right at the very front of the robot, typically in the center. It’s a small, swiveling wheel designed for easy maneuverability. You can’t miss it – it’s usually the only wheel at the very tip.
Accessing the Wheel Mechanism
Now, look closely at the wheel itself. You should see a small housing around it. Many Shark models have a small tab or clip on one side of this housing. This tab is what holds the wheel assembly in place. You might need to gently push or lift this tab to release the wheel. We found that a gentle touch is usually all that’s needed.
Releasing and Removing the Wheel
With the tab located, you can now remove the wheel. Gently grip the wheel with your fingers. Apply a slight pulling or wiggling motion outwards, away from the robot. As you pull, try to press down on that small tab you found. The wheel should then pop out of its socket. If it feels stuck, don’t force it. Try wiggling it a bit more, or check if there’s another clip you missed.
Once the wheel is free, set it aside on your clean cloth. Take a moment to admire your work. You’ve successfully removed a key component!
Cleaning the Wheel and Housing
This is where the real magic happens. Inspect the wheel and the inside of the housing thoroughly. Hair, dust bunnies, and small objects can get deeply lodged in there. Use your cloth to wipe away any visible debris. If you encounter stubborn hair wrapped around the wheel’s axle, use tweezers or small pliers to carefully pull it away. We found that cleaning this area thoroughly can make a big difference in performance.
Make sure the wheel can still spin freely. If it feels stiff or catches on anything, keep cleaning. Also, check the cavity where the wheel sits for any lodged debris. A clean housing ensures the new or cleaned wheel will operate smoothly.
Reinstalling the Front Wheel
Putting the wheel back in is just as easy as taking it out. Align the wheel assembly with the socket it came from. Gently push the wheel straight into the housing. You should hear or feel a small click when it’s properly seated. Give it a gentle tug to ensure it’s secure.
If it doesn’t click into place, try rotating it slightly or ensure no debris is obstructing the connection. A properly installed wheel will sit flush with the surrounding housing. Now your Shark robot is ready to roll again!
Troubleshooting Common Removal Issues
Sometimes, things don’t go exactly as planned. Here are a few common snags and how to resolve them.
Wheel Won’t Budge
If the wheel feels completely stuck, double-check that you’ve fully released the retaining clip or tab. Sometimes these are a bit stiff. Try applying gentle, consistent pressure. If you suspect an obstruction, try to peer into the housing with a flashlight. Many experts suggest never using excessive force, as you could damage the housing (Cleveland Clinic).
Debris is Too Entangled
For extremely stubborn hair or string, patience is key. Tweezers or needle-nose pliers are your best friends here. Work slowly and carefully to untangle the debris without damaging the wheel’s axle or the housing. If you find tiny screws, be sure to keep them safe in a small container.
What if I Break Something?
Accidents happen! If you accidentally break the wheel or its housing, don’t panic. Most Shark robot vacuum parts, including the front wheel assembly, are available for purchase online. You can usually find replacements through Shark’s official website or other authorized retailers. We found replacement parts are typically quite affordable.
Checklist for Successful Front Wheel Removal
Here’s a quick checklist to ensure you’ve got everything covered:
- Robot is powered off and unplugged. Safety first!
- Front wheel and housing are located. You know where to look.
- Retaining tab or clip is identified. This is your release point.
- Wheel is gently pulled straight out. No brute force needed.
- All debris is cleared from wheel and housing. A clean slate is best.
- Wheel is securely reinserted with a click. It should feel solid.
Conclusion
You’ve successfully learned how to remove and clean your Shark robot vacuum’s front wheel. This simple maintenance task is key to keeping your robot running efficiently. By regularly checking for debris and ensuring the wheel spins freely, you prevent common cleaning errors and prolong your robot’s life. Don’t let a tangled wheel slow you down. Your next step is to perform this quick cleaning on your own robot. You’ll likely notice an immediate improvement in its navigation and cleaning performance.
Frequently Asked Questions
How often should I remove and clean the front wheel?
We recommend checking and cleaning the front wheel at least once a month. If you have pets that shed a lot, or if you notice your robot struggling, it’s a good idea to check it more frequently. Keeping this part clean is essential for optimal performance.
What should I do if the front wheel housing looks damaged?
If you find that the housing around the front wheel is cracked or broken, you may need to replace the entire front wheel assembly. You can usually purchase replacement parts directly from the Shark website or other online retailers. Check your robot’s model number for the correct part.
Can I use a liquid cleaner on the front wheel?
It’s best to avoid using liquid cleaners directly on the front wheel or its housing. A dry cloth is usually sufficient for cleaning away debris. If there’s stubborn grime, a slightly damp cloth can be used, but ensure the wheel and housing are completely dry before reinstallation.
My Shark robot keeps getting stuck after cleaning the front wheel. What now?
If your robot continues to get stuck after you’ve cleaned and reinstalled the wheel, double-check that the wheel is fully seated and clicks into place. Also, ensure no debris is lodged in the socket where the wheel sits. Sometimes, a slightly misaligned wheel can cause issues.
Is it okay to use WD-40 if the wheel is stiff?
We advise against using lubricants like WD-40 on your robot vacuum’s front wheel. These products can attract dust and debris, creating a stickier mess over time. Your best bet is to thoroughly clean the wheel and housing with a dry cloth or tweezers to remove any obstructions causing stiffness.