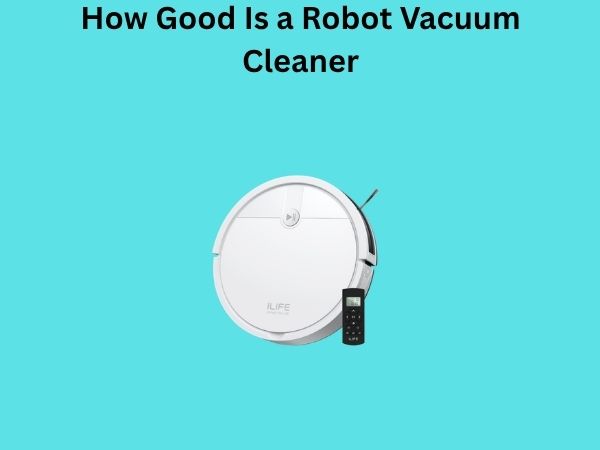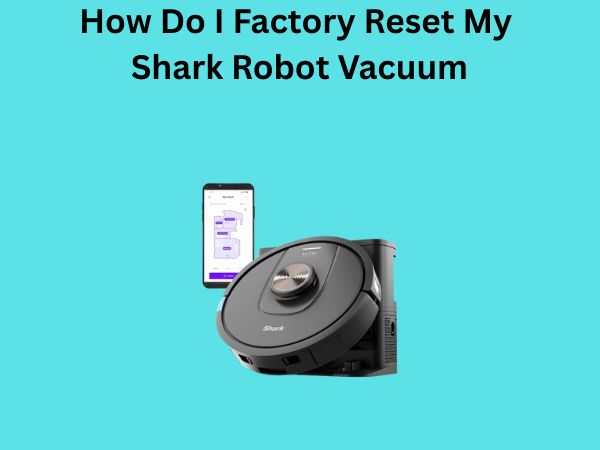
How Do I Factory Reset My Shark Robot Vacuum? A Complete Guide to Restoring Your Device
If you’re standing in your living room wondering why your Shark robot vacuum isn’t responding the way it used to, you’re not alone. Over time, these intelligent cleaning machines can develop glitches, connectivity issues, or performance problems that make you want to pull your hair out. The good news? A factory reset might be exactly what you need to breathe new life into your robotic cleaning companion.
Think of a factory reset like giving your Shark vacuum a fresh start—it’s like wiping away all the dust and confusion and returning it to its original, pristine state. In this comprehensive guide, I’ll walk you through everything you need to know about factory resetting your Shark robot vacuum, whether you’re dealing with software issues, connectivity problems, or you simply want to start from scratch.
Understanding What a Factory Reset Actually Does
Before you dive into the reset process, let’s clarify what happens when you factory reset your Shark robot vacuum. A factory reset removes all custom settings, saved maps, cleaning schedules, and app configurations. It’s like erasing the vacuum’s memory and returning it to the exact state it was in when it left the factory.
This process is invaluable when your vacuum is acting up. Maybe it’s not connecting to your Wi-Fi, or perhaps it’s stuck in a loop, or the app keeps crashing. Whatever the issue, a factory reset often resolves these problems by clearing out corrupted files and resetting everything to default parameters.
However, here’s something important to understand: a factory reset doesn’t affect the actual hardware or the vacuum’s ability to pick up dirt. It’s purely a software solution. The physical components—the brushes, filters, and suction system—remain unchanged.
Why Your Shark Robot Vacuum Might Need a Factory Reset
Connectivity Issues That Won’t Go Away
One of the most frustrating scenarios is when your Shark vacuum refuses to connect to your Wi-Fi network. You’ve tried everything—restarting the app, resetting your router, moving closer to the device—but nothing works. In these situations, a factory reset can eliminate any corrupted connection settings that are preventing your vacuum from communicating with your smartphone.
App Performance Problems and Crashes
Does your Shark app freeze when you try to schedule cleaning sessions? Or maybe it crashes every time you attempt to view the map? These software glitches often stem from conflicting settings or corrupted data that accumulated over months of use. A factory reset clears out this digital clutter.
Unusual Navigation or Cleaning Patterns
If your Shark is cleaning in random patterns, ignoring certain rooms, or not following the routes you programmed, the vacuum’s internal settings might be corrupted. A factory reset restores the vacuum’s original navigation logic and default cleaning behaviors.
Unexpected Error Messages
When your vacuum displays persistent error codes or warning messages that don’t correspond to actual physical problems, it’s often a sign of software confusion. These errors sometimes vanish after a factory reset.
Preparing for Resale or Transfer
If you’re selling your Shark robot vacuum or giving it to someone else, a factory reset is essential. It removes all your personal information, Wi-Fi credentials, and cleaning history from the device.
What You Should Do Before Factory Resetting
Back Up Your Current Settings
If your app is still functional, take screenshots of your current cleaning schedules, favorite room settings, and any custom configurations. While you can’t restore these directly after a reset, you’ll have a reference for rebuilding your preferences.
Note Your Wi-Fi Information
After the reset, you’ll need to reconnect your vacuum to Wi-Fi. Have your Wi-Fi network name and password readily available. This will make the reconnection process much smoother.
Ensure Your Vacuum is Fully Charged
Never attempt a factory reset on a low battery. Charge your Shark robot vacuum to at least 80% capacity before proceeding. If the power cuts out during the reset process, it could cause complications.
Clear Any Obstacles
Make sure your vacuum isn’t tangled with cables, hair, or debris. Remove any objects that might interfere with its movement or sensors. This ensures the vacuum can operate normally after the reset is complete.
Update the Firmware First
If you haven’t updated your Shark’s firmware recently and your app is still working, check for available updates. Sometimes, simply installing the latest firmware resolves issues without needing a full factory reset.
Step-by-Step Guide to Factory Reset Your Shark Robot Vacuum
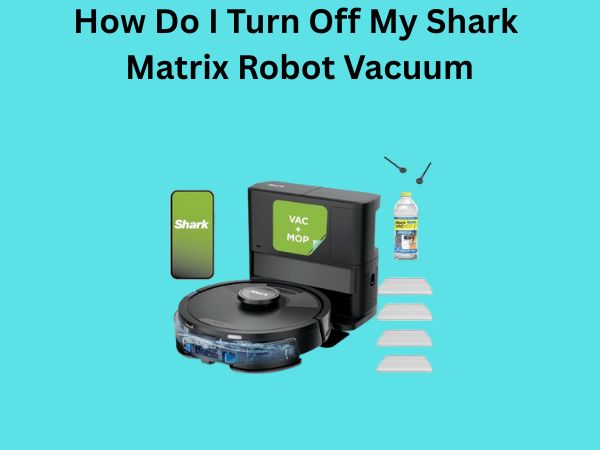
Method 1: Using the Physical Reset Button
Most Shark robot vacuums have a physical reset button located on the underside or back of the device. This is the most reliable method because it doesn’t depend on app connectivity.
- Flip your vacuum over — Turn off your Shark robot vacuum and carefully flip it upside down. You’ll need to locate the reset button, which is usually a small, recessed button.
- Find the reset button — Look for a button labeled “Reset” or a small circular button that’s different from the other control buttons. Some models have it near the cliff sensors, while others place it near the charging contacts.
- Press and hold the button — Using a thin, pointed object like a paperclip or straightened paper clip, press and hold the reset button for approximately 10 to 15 seconds.
- Wait for the confirmation — You may hear a beeping sound or see lights flash, indicating that the reset process has begun.
- Allow the vacuum to restart — Place your vacuum back on its wheels and let it sit for a few minutes while it restarts. The vacuum may perform an initialization sequence.
- Turn it back on — Power on your Shark robot vacuum and verify that it has been reset to factory settings.
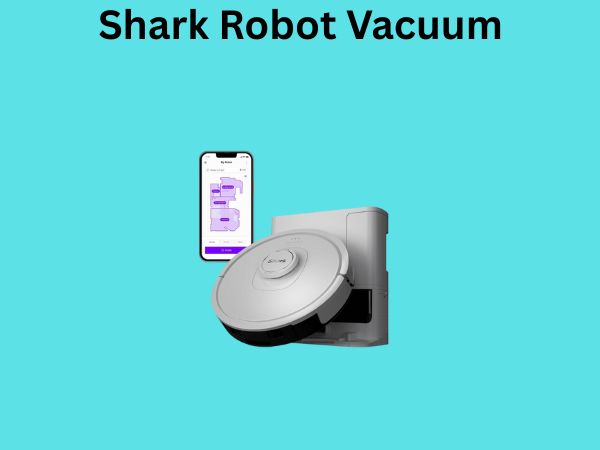
Method 2: Using the Mobile App
If your Shark app is still functioning properly, you can initiate a factory reset directly from your smartphone. This method is convenient and doesn’t require you to handle the physical device.
- Open the Shark app — Launch the Shark robot vacuum app on your mobile device.
- Navigate to settings — Look for a settings or menu option, usually represented by a gear icon or three horizontal lines.
- Find the reset option — Within the settings menu, search for an option that says “Reset,” “Factory Reset,” “Restore to Default,” or something similar.
- Select factory reset — Tap on the factory reset option. The app may ask you to confirm your action since this is irreversible.
- Confirm and proceed — Follow the on-screen prompts to complete the reset. This typically involves pressing a confirmation button.
- Wait for completion — The app will show a progress indicator. Don’t interrupt the process or turn off your vacuum.
- Reconnect to Wi-Fi — Once the reset is complete, the app will guide you through reconnecting your vacuum to your home network.
Method 3: Manual Reset Without Using the App
If your app isn’t working and you can’t locate the reset button, there’s another approach. Some Shark models respond to specific button combinations or sequences.
Turn off your vacuum completely and wait 30 seconds. Then, rapidly press the dock button multiple times in succession—usually between 5 and 10 times in quick succession. Some models will enter a reset mode indicated by unusual light patterns or sounds. Consult your specific model’s manual for the exact button sequence, as this varies between different Shark vacuum models.
Reconnecting Your Shark Vacuum After a Factory Reset
Initial Setup Process
After your Shark robot vacuum has been factory reset, it will essentially be in the same state as when it was brand new. This means you’ll need to set it up again. Here’s how to do it properly.
Download or Reinstall the Mobile App
Make sure you have the official Shark mobile app installed on your smartphone. You can find it on the App Store for iOS devices or Google Play for Android devices. Download the latest version to ensure compatibility.
Create or Sign Into Your Account
Launch the app and sign in with your account credentials, or create a new account if you don’t have one. Your account is what allows you to control multiple Shark devices if you have them.
Add Your Vacuum to the App
Follow the app’s instructions to add a new device. This process typically involves searching for your Shark vacuum and connecting it to your home Wi-Fi network. Make sure your smartphone and the vacuum are on the same network for the pairing process to work.
Reconfigure Your Preferences
Once your vacuum is connected, you can rebuild your cleaning schedules, set room preferences, and adjust suction settings. If you took screenshots of your previous settings before the reset, now is the time to reference them.
Troubleshooting Common Reset Issues
The Reset Button Isn’t Responding
If you press the reset button and nothing happens, the button might be stuck or blocked by debris. Try cleaning around the button area gently with a dry cloth. If it’s still unresponsive, you may need to contact Shark customer support.
The Vacuum Won’t Connect to Wi-Fi After Reset
Sometimes, after a factory reset, your vacuum struggles to find your Wi-Fi network. Try these solutions: move the vacuum closer to your router, ensure your network name and password are entered correctly, and verify that your router is broadcasting a 2.4GHz signal (many Shark vacuums don’t support 5GHz networks).
The App Still Shows the Old Device Information
Even after a factory reset, your app might retain old device data. Clear the app cache on your smartphone, uninstall the app completely, and reinstall it fresh. This ensures you’re starting with a completely clean slate.
Your Vacuum is Stuck in Setup Mode
If your Shark keeps cycling through the setup process without completing it, try turning it off, waiting five minutes, and then powering it back on. If this doesn’t work, you may need to perform another factory reset.
Tips for Preventing Future Issues That Require a Reset
Keep Your Firmware Updated Regularly
Check your Shark app monthly for firmware updates. These updates patch bugs and improve performance, which often prevents the issues that lead to needing a factory reset.
Maintain Regular App Maintenance
Clear your app’s cache every few months, and periodically log out and log back in to your account. This prevents data corruption that can accumulate over time.
Monitor Your Wi-Fi Connection
Ensure your vacuum maintains a strong connection to your Wi-Fi network. If your vacuum frequently loses connection, it may indicate network issues that could eventually cause app glitches.
Clean Your Vacuum Regularly
While physical cleaning won’t prevent software issues, a well-maintained vacuum is less likely to develop sensor problems that might be misdiagnosed as software glitches.
Avoid Interrupting Important Processes
Never turn off your vacuum during updates or while it’s performing mapping functions. Let these processes complete naturally to prevent corrupted files.
When Should You Contact Shark Customer Support?
A factory reset resolves most issues you’ll encounter with your Shark robot vacuum. However, some problems persist even after a reset. If your vacuum still isn’t working properly after factory resetting, it’s time to reach out to customer support.
Contact Shark customer service if you experience issues like persistent hardware errors, physical damage, or problems that a factory reset doesn’t resolve. They may be able to troubleshoot specific issues, provide replacement parts, or offer a warranty replacement if your device is still under coverage.
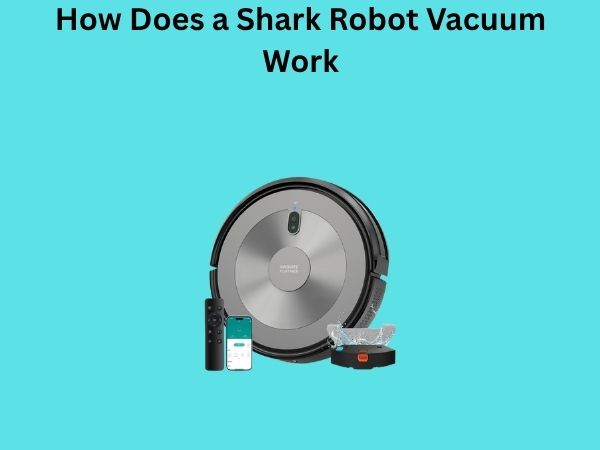
Understanding Different Shark Vacuum Models
It’s worth noting that different Shark robot vacuum models may have slightly different reset procedures. The IQ model, for instance, might reset differently than the ION model. Before attempting a reset, I highly recommend checking your specific model’s manual for precise instructions.
You can usually find your model number on the bottom of the vacuum or in the app itself. Once you have this information, searching for your specific model’s reset instructions online will give you the most accurate guidance.
The Importance of Proper Documentation
After you’ve successfully reset your Shark and reconnected it, take a moment to document your new setup. Note when you reset it, what issues you were experiencing, and what settings you’ve configured. This documentation can be incredibly helpful if you encounter problems in the future or need to contact customer support.
Conclusion
Factory resetting your Shark robot vacuum might seem intimidating at first, but it’s actually a straightforward process that can resolve a surprising number of issues. Whether you’re dealing with connectivity problems, app glitches, or unusual navigation patterns, a factory reset often brings your vacuum back to working order.
The key is to prepare properly before you reset, choose the method that works best for your situation, and take your time reconnecting your device afterward. Remember that a factory reset isn’t a last resort—it’s a legitimate troubleshooting tool that can save you from more complicated repairs down the line.
If you’ve tried resetting and your vacuum still isn’t functioning properly, don’t hesitate to reach out to Shark’s customer support team. They’re equipped to handle more complex issues and can provide additional guidance specific to your device. With proper maintenance and occasional resets when needed, your Shark robot vacuum should serve you well for years to come.
Frequently Asked Questions
Will a factory reset delete my Wi-Fi password from the vacuum?
Yes, a factory reset removes all stored Wi-Fi credentials and connection information. You’ll need to reconnect your vacuum to your network after the reset is complete using your current Wi-Fi password. This is actually a security benefit, especially if you’re selling or giving away your vacuum to someone else.
How long does a factory reset typically take?
Most factory resets complete within 2 to 5 minutes from start to finish. However, the entire process of resetting and reconnecting—including the setup process—can take around 15 to 30 minutes depending on your Wi-Fi network speed and how familiar you are with the app.
Can I factory reset my Shark vacuum if the battery is low?
While you technically can perform a factory reset on a low battery, I strongly recommend charging your vacuum to at least 80% first. If the battery dies during the reset process, it could potentially corrupt the device’s software and cause more serious problems than you started with.
Does factory resetting my Shark vacuum void the warranty?
No, performing a factory reset does not void your Shark vacuum’s warranty. Factory resets are an intended maintenance function, and manufacturers expect users to perform them when necessary. Your warranty remains valid as long as you haven’t physically damaged the device.
What’s the difference between a factory reset and simply restarting my vacuum?
Restarting is like turning your vacuum off an