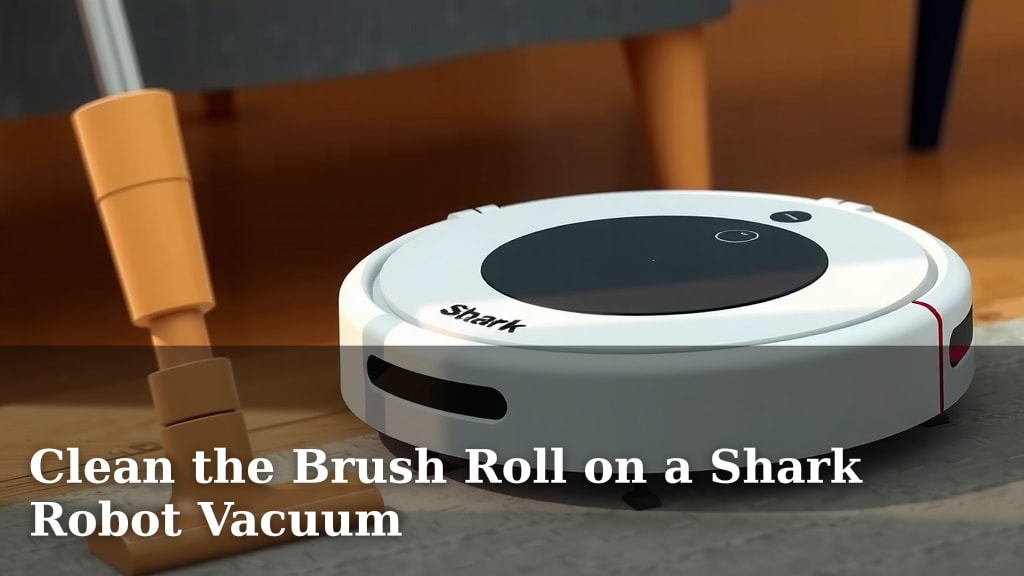
Clean the Brush Roll on a Shark Robot Vacuum
The easiest way to clean the brush roll on your Shark robot vacuum is to remove it completely and then use a combination of your hands, scissors, and a soft cloth. You’ll want to remove any tangled hair and debris. This simple maintenance will help your robot vacuum perform at its best.
A clean brush roll is vital for effective floor cleaning. When hair, dust, and debris build up, your Shark robot can miss spots. Keeping it clean ensures a deeper clean and prevents strain on your vacuum’s motor. It’s a small task with a big impact on your home’s cleanliness.
TL;DR:
- Remove the brush roll for best results.
- Use scissors to cut tangled hair.
- Wipe it down with a damp cloth.
- Check the ends for debris.
- Reinstall it securely.
Ready to get your Shark robot vacuum back to peak performance? Let’s walk through exactly how to clean that brush roll step by step.
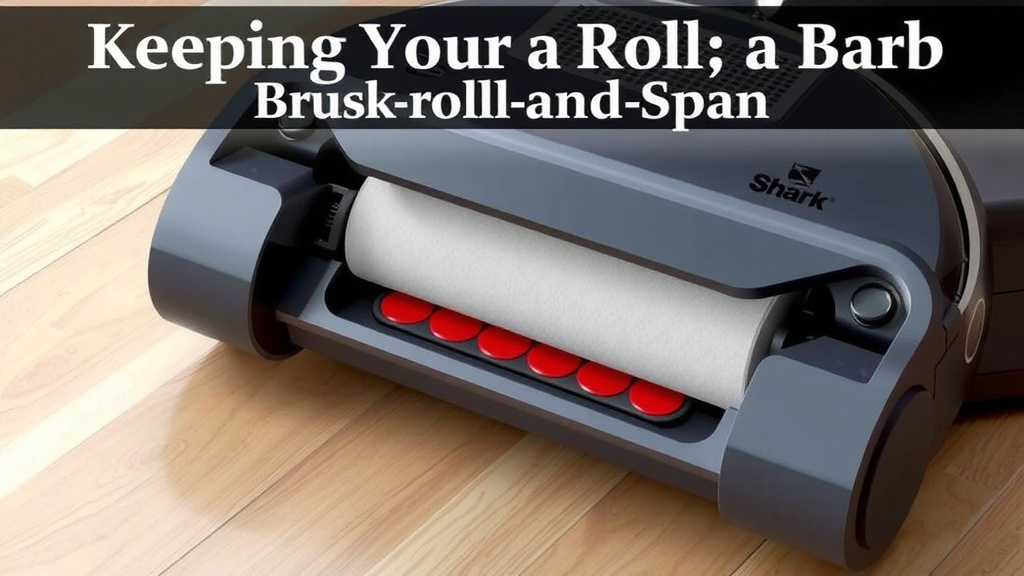
Keeping Your Shark Robot Vacuum’s Brush Roll Spick-and-Span
A clean brush roll is the **unsung hero** of your Shark robot vacuum. It’s the part that directly agitates your floors. When it’s gunked up, your robot can’t pick up dirt effectively. We found that regularly cleaning this component can make a **huge difference** in your robot’s cleaning power. It’s a simple habit that pays off.
How to Tackle Tangled Brush Rolls
Getting rid of hair and debris from your Shark robot’s brush roll is easier than you might think. Your goal is to **remove anything that obstructs** its spinning action. This often means hair, threads, and even small bits of carpet that get caught. Let’s break down the process into manageable steps.
Step 1: Safely Remove the Brush Roll
First things first, you need to get the brush roll out of the vacuum. Your Shark robot vacuum should have an easy way to access it. Look for a latch or a small lever near the brush roll housing. Gently press this and lift the brush roll out. Make sure your robot vacuum is powered off and unplugged for **safety**. We found that some models have a slightly different mechanism, so consult your manual if you’re unsure.
Step 2: Untangle the Hair and Debris
This is where the real work happens. You’ll likely see a **mess of hair** wrapped around the brush roll. The most effective tool for this is a pair of scissors. Carefully thread the scissor blades under the tangled hair and cut it. Work your way around the entire brush roll. Be patient; it might take a few passes. Many sources recommend using scissors for this task (Cleaning Your Home, 2022). Try to cut the hair as close to the brush roll as possible. This makes it much easier to pull away the loosened debris.
Dealing with Stubborn Clumps
Sometimes, hair can form really tight knots. If you encounter a particularly stubborn clump, try to loosen it with your fingers first. If that doesn’t work, use the tip of your scissors to gently pick at the knot. The goal is to **disrupt the entanglement** without damaging the brush bristles. Remember, the brush roll is designed to be robust, but excessive force could still cause harm.
Step 3: Clean the Brush Roll Ends
Don’t forget the ends of the brush roll! Hair and debris often get **packed into the corners** and around the brush bearings. Use your fingers or a small pick to remove any buildup here. This area is critical because it directly impacts how smoothly the brush roll spins. If these ends are blocked, the entire roll can’t function optimally. We found that neglecting these areas can lead to premature wear.
Step 4: Wipe Down the Brush Roll
Once you’ve removed the visible tangles, give the brush roll a good wipe. A slightly damp cloth works wonders for picking up any remaining dust or fine debris. You can use a mild, non-abrasive cleaner if needed, but water is often sufficient. Make sure to **dry the brush roll thoroughly** before putting it back in your vacuum. Moisture can lead to mold or mildew, which nobody wants in their home!
What to Use and What to Avoid
When cleaning, stick to simple tools. Scissors, your hands, and a damp cloth are your best friends. Avoid using harsh chemicals or abrasive scrubbing pads. These can damage the brush bristles and the plastic components of the roll. Think of it like cleaning delicate hair – you want to be gentle but effective. Many cleaning guides suggest water and a soft cloth (Consumer Reports, 2023).
Checking Other Parts of the Brush Roll Assembly
While you have the brush roll out, it’s a good time to check the surrounding area in your Shark robot vacuum. Sometimes, debris can get stuck in the housing where the brush roll sits. Look for any accumulated dust bunnies or stray threads. A soft brush or a dry cloth can help clear these out. This holistic approach ensures your entire cleaning system is functioning properly.
Inspect the Brush Roll Bearings
Pay close attention to the ends where the brush roll connects. These are often called brush roll bearings. Ensure they are **free of debris and spin smoothly**. If you notice any resistance or excessive noise when you try to spin them manually, there might be an issue. Some specialized tools can help clean these, but often just picking out visible debris is enough.
Consider a Replacement if Needed
Brush rolls, like any part that experiences wear and tear, will eventually need replacing. If your brush roll looks significantly worn down, has broken bristles, or is damaged beyond repair, it’s time for a new one. You can usually find replacement brush rolls specific to your Shark robot model. Check your vacuum’s manual or the manufacturer’s website for compatibility. Replacing a worn brush roll can **restore your vacuum’s cleaning efficiency**. Many experts recommend replacing brush rolls every 6-12 months, depending on usage (Appliance Repair Experts).
Putting It All Back Together
Reinstalling the brush roll is the reverse of removal. Ensure it clicks securely into place. Double-check that it spins freely by hand before closing the housing cover. A properly seated brush roll is essential for your Shark robot vacuum to work its magic. You want to hear that satisfying ‘snap’ or ‘click’ when it’s in correctly. This ensures it won’t come loose during operation.
Quick Brush Roll Maintenance Checklist
Here’s a simple checklist to keep your brush roll in top shape:
- Power off and unplug your robot vacuum.
- Remove the brush roll carefully.
- Cut away all tangled hair and strings.
- Clean out debris from the brush roll ends.
- Wipe the brush roll clean with a damp cloth.
- Ensure the brush roll spins freely before reinstallation.
Conclusion
You’ve now learned how to effectively clean your Shark robot vacuum’s brush roll. By regularly removing hair, debris, and dust, you ensure your robot performs at its best. Remember, a clean brush roll means a cleaner home with less effort. Don’t forget to check the brush roll ends and the surrounding assembly for any hidden gunk. Make this simple cleaning routine a habit. Your robot, and your floors, will thank you for it. The next time you notice your Shark struggling, start with this essential brush roll maintenance.
Frequently Asked Questions
How often should I clean the brush roll on my Shark robot vacuum?
We recommend cleaning your Shark robot vacuum’s brush roll at least once a week, especially if you have pets or long hair in your home. More frequent cleaning might be necessary if you notice a decrease in cleaning performance or see visible debris buildup.
Can I use water to clean the brush roll?
Yes, a slightly damp cloth is perfect for wiping down the brush roll after removing debris. Just be sure to dry it completely before reinstalling it in your vacuum to prevent any moisture damage or mildew.
What should I do if the hair is too tangled to cut with scissors?
If you encounter stubborn tangles, gently try to loosen them with your fingers first. If that doesn’t work, use the tip of your scissors carefully to pick at the knots. The key is to break up the entanglement without damaging the brush bristles or the roll itself.
My Shark robot vacuum is making a strange noise. Could the brush roll be the issue?
A noisy brush roll is often a sign of tangled debris or a blockage. Cleaning it thoroughly, paying close attention to the ends and bearings, can resolve many noise issues. If the noise persists after cleaning, the brush roll itself might be worn or damaged and could need replacement.
Do I need to replace the brush roll, or just clean it?
You should clean your brush roll regularly as part of your maintenance routine. Replacement is only necessary if the brush roll is visibly worn, has broken bristles, or is damaged beyond repair. Check your robot’s manual for guidance on when to consider a new brush roll.